Can one really call oneself a retro computer hobbyist without getting your hands dirty? Without bearing the scars of hot solder on your wrists or holding onto solder flex for too long and taking the skin off your fingertips? No! No, you can’t.
I am, therefore, happy to report I am now a retro computer hobbyist. An official one. A do-it-yourselfer. It’s literally taken me years to pluck up the courage to have a go myself and (as you are all no doubt thinking) what was all the fuss about?
So, as you know, the old C64 was in storage for a little while as I flirted with emulators. The reward for my infidelity was an ‘Out of Memory’ error when I came to reinstall and reboot the old girl.
A quick google later and I’d identified the likely culprit. My search led me, as it so often does, to Lemon 64 and this really useful post. It told me all I needed to know, an ‘Out of Memory in 0’ error with a flashing character on screen. Seems you can identify which chip by that character.

Mine was an exclamation mark so, with an 8-chip board, the chip I needed to replace was U21. The post went on to say the chip I needed to get hold of was the 4164 and I found them listed for a very reasonable £1.50 over at Retroleum (a great site, by the way). I got two just in case I ruined one. See, no confidence.

Anyway, chip duly arrived, board taken out of the breadbin (even I can do that without too much trouble) and some hefty research on how best to desolder and today saw the first steps to true retrocomputerer.
What worked best for me was solder braid/wire. The pump was too big for the relatively small 4164 chips and there were capacitors getting in the way, so I simply heated up the base of the pins on both side of the board via the braid and it just sucked the solder right up. Top tip – don’t hold onto the braid too close to the heat source. It hurts.
That made it sound easier than it was. It took a few attempts and fiddling with the chip to get it out, but once off the board I could repeat the process with the now vacant holes and clean them up properly. The chip, as you can see, came out as clean as a whistle!

No matter, it was a duff one anyway. So, holes (are they called holes?) tidied up, time to insert the new chip. I was a bit worried I should be replacing all 8 chips, and I probably should have been, but for now I could only focus on the one I knew was bad. In it went and out came the solder iron. I tipped the iron tipbecause google told me to. No idea if that helped or not but it is supposed to be good for the life of the tip.

My method was to put a tiny bit of solder on the iron and touch each pin base on both sides of the board. The solder just sort of knew where to go. It slooped into place and I was starting to think this soldering lark is easy. Maybe that’s everybody’s method, I don’t know, but it if is then I just happened to discover it first go.

I checked as well as I could that the solder looked ok and wasn’t touching other solder or traces, and looked to be making good contact on both sides. So nothing else but to put the board back in and get the Dead Check cart out.
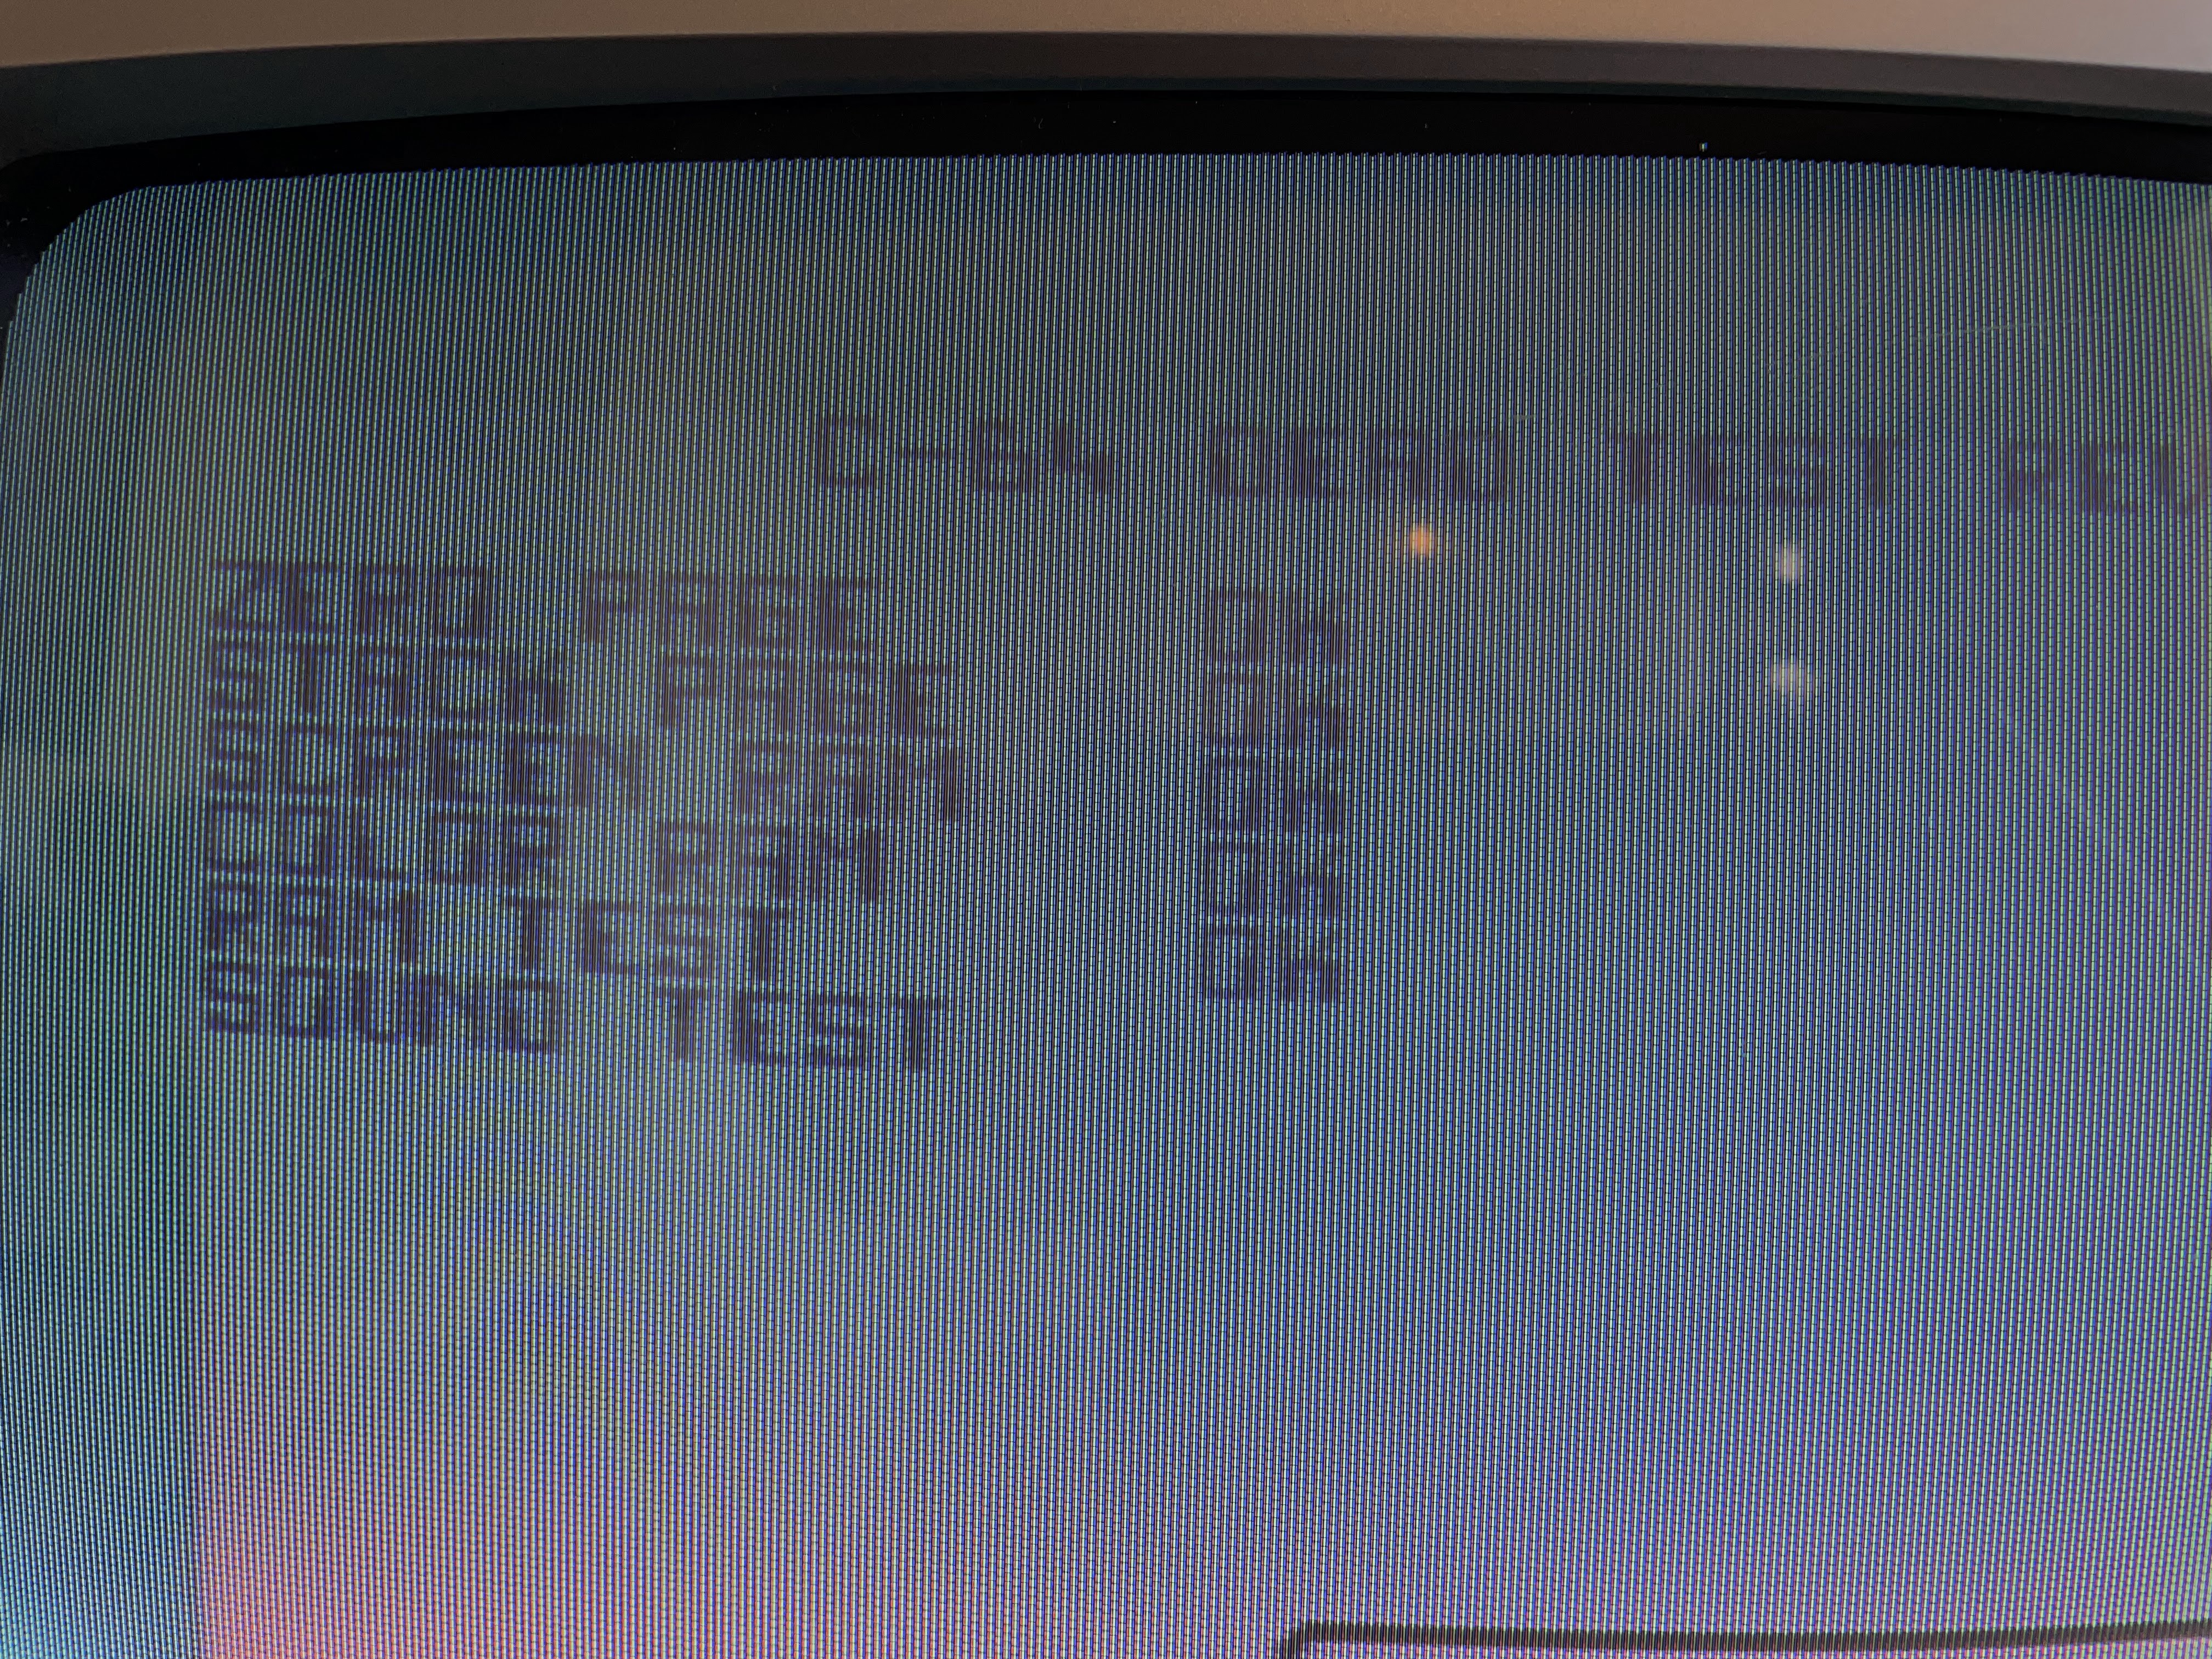
Well, first of all the thing booted straight up and into basic. I am of a certain amount of advanced years and I can tell you that made me feel like a kid again. I was thrilled. I switched off and put the cart in and ran a few cycles of the test. All showed ok and the RAM tests were all fine!

So a success. And, although I’ve been a little flippant in this post, I really am over the moon with my own repair. It has given me the confidence to maybe try to recap the board next, and to try all sorts of other projects, and makes me feel that these wonderful old bits of pioneering hardware will be around for a lot more years to come.
