XC=BASIC 3 – An Adventure Game

This is a quick introduction, and the first of what I hope will be many posts/tutorials (call them what you will) on XC BASIC and game creation that I hope anybody who happens to come across them will find useful.

I should confess from the off that I am not a coder, and I will undoubtedly do things wrong, learn from mistakes, and improve over time. I am more than happy for comments, in fact, I positively encourage them, on how to improve the code and make it more efficient, point out what I am doing wrong, or generally mock me for missing something obvious. 

My goal is to get better, and these posts are a way for me to record what I have done so far and build up a library of articles that will, hopefully, help others but more specifically act as an aide-mémoire for my aging brain.

My tool of choice is XC=BASIC 3, and so these posts and code within will be 100% based on the language, syntax and libraries of that compiler.

I’m not going to go into the installation and setup of XC BASIC, but follow the link above and it’s all very obvious. It runs on multiple systems – mine is running very happily on a MacBook Pro. I’m also using Visual Studio Code as my editor, and VICE to emulate and quickly debug, as well as, obviously, my real Commodore 64.

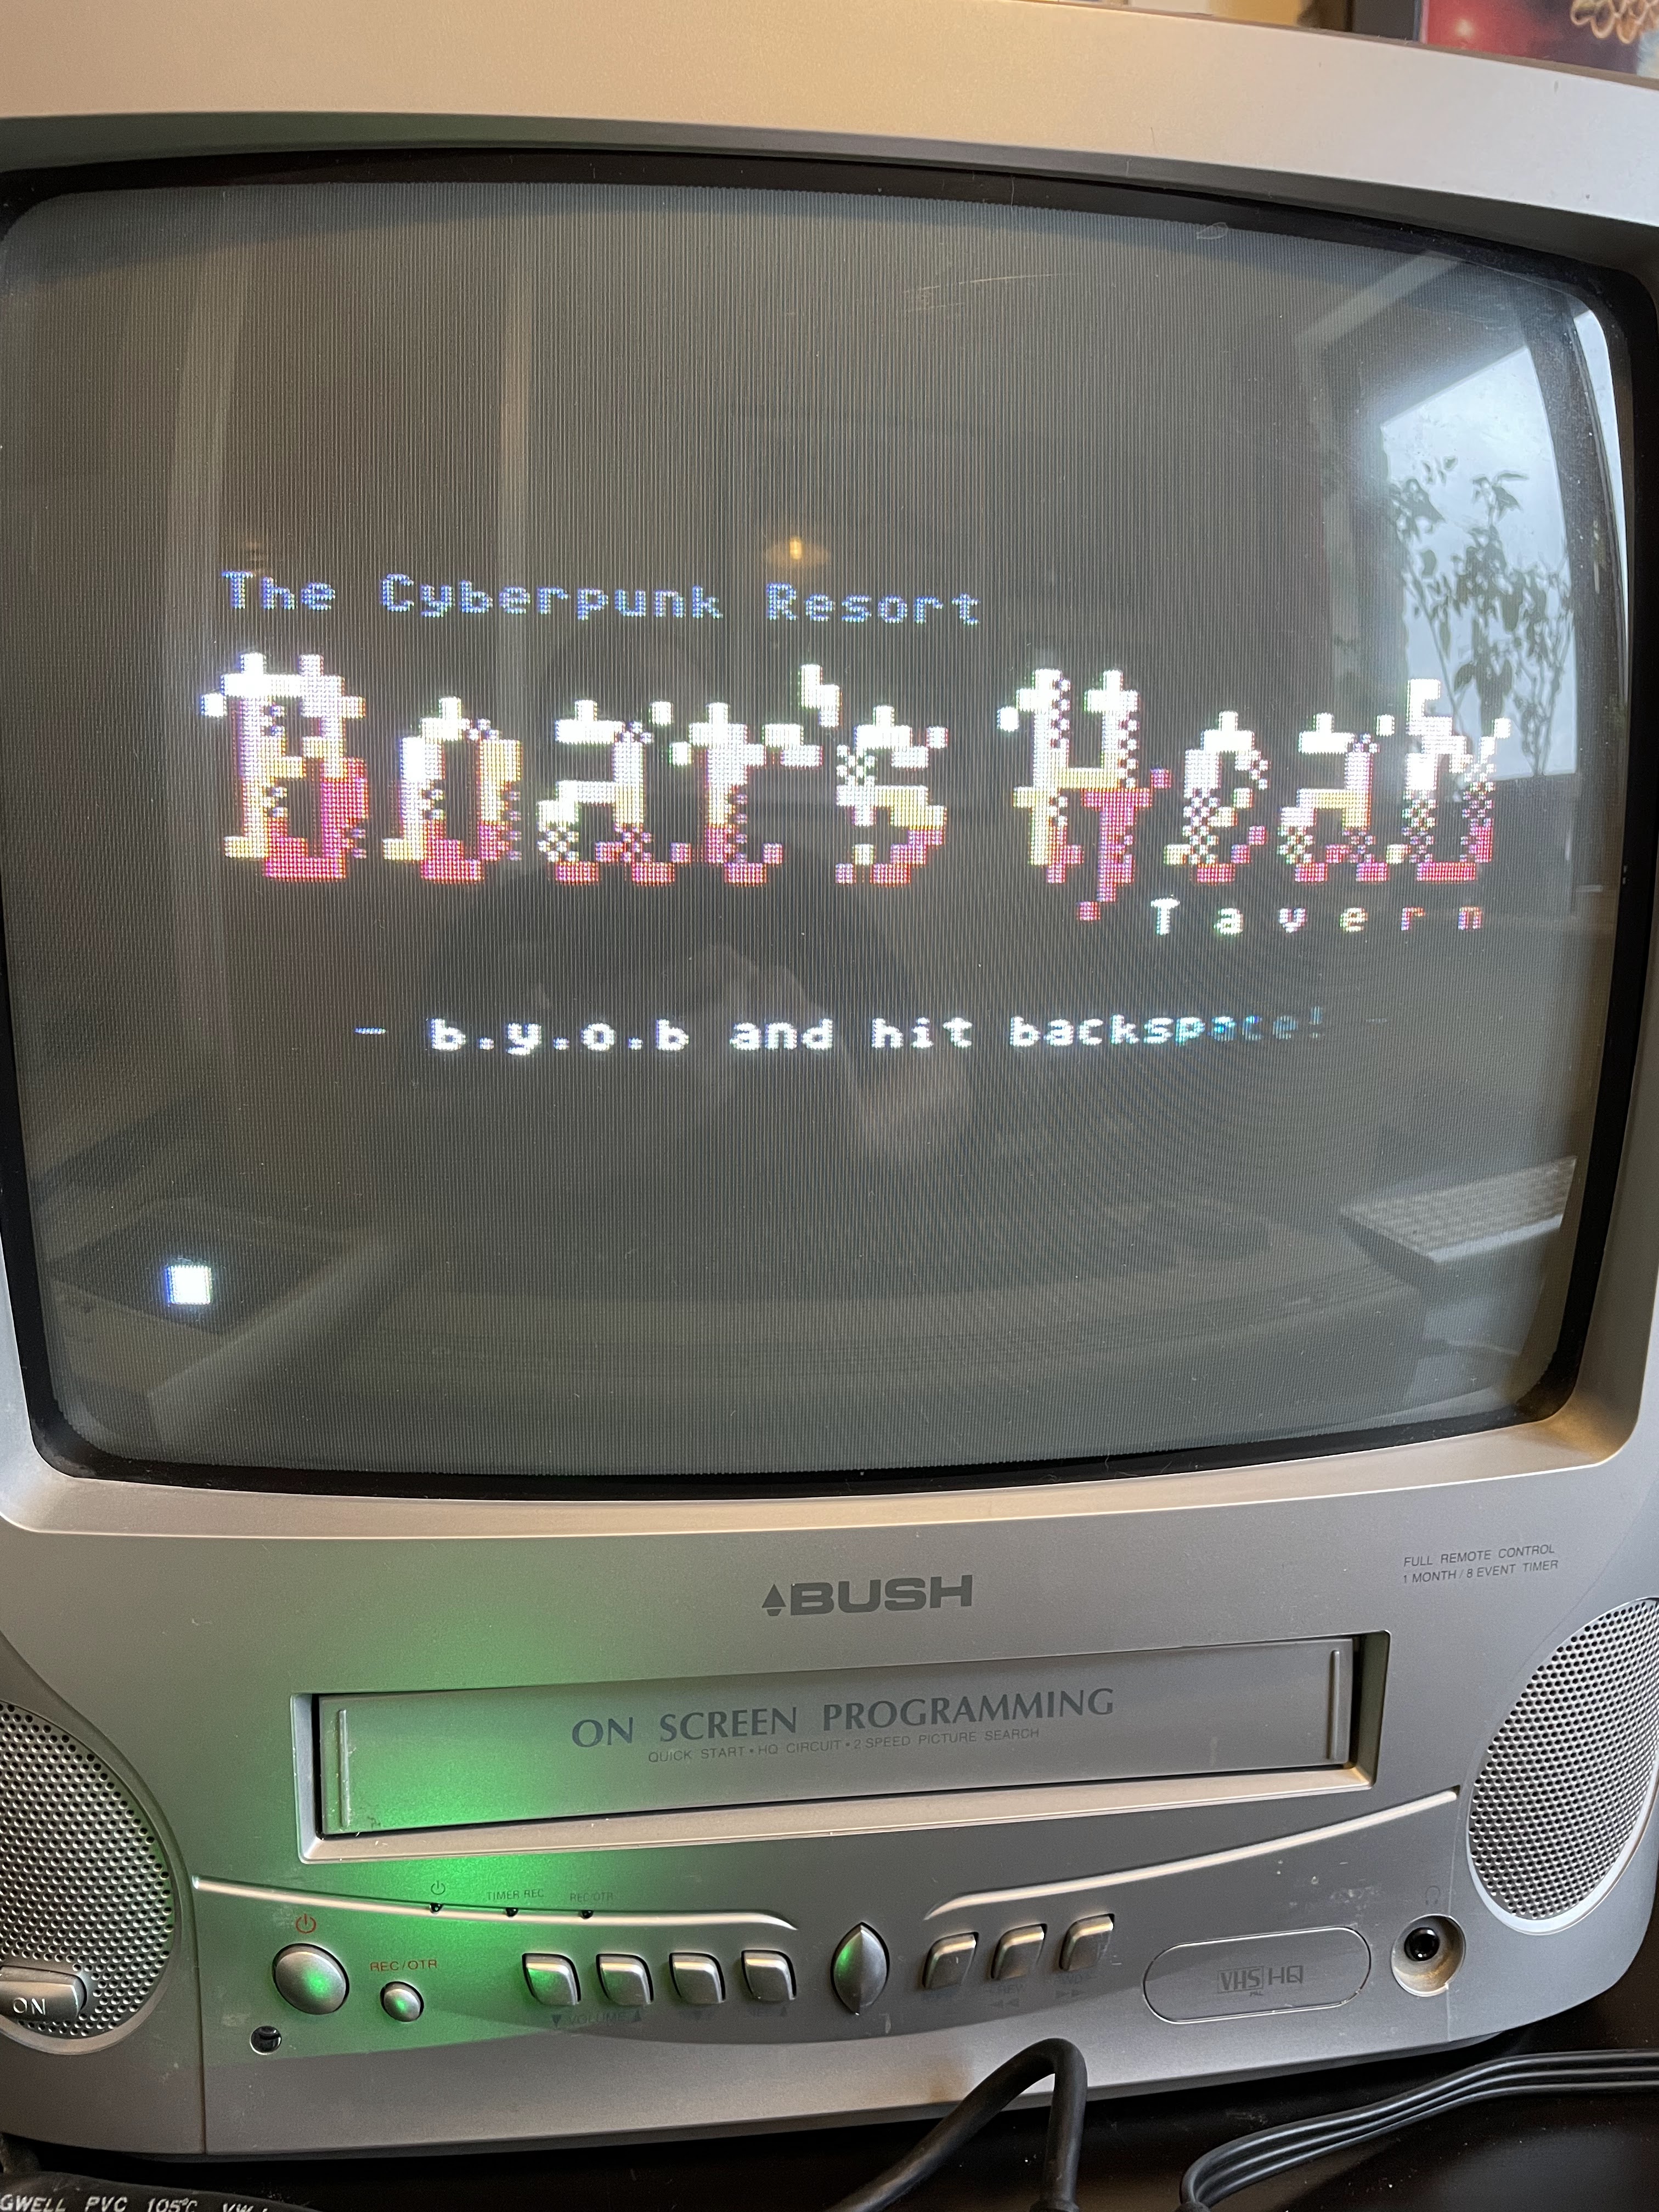
I’m going to be using XC BASIC to code a text adventure game – something I have been meaning to do for ages and I have started, and got quite far in some cases, with The Quill, The Graphic Adventure Creator, TinyInform (an Inform 7 library) and numerous books and magazine articles, typing in endless lines of code. The latter was particularly time consuming and unfruitful – somebody else’s bad code starts you off on the worst possible footing. Whilst I could definitely come up with a workable game using The Quill et al, and I did, it still didn’t leave me with any real sense of achievement.

I stumbled upon XC BASIC just searching around for languages and standard BASIC alternatives, and immediately thought it suited me just right. Compatible enough with CBM BASIC to make it feel old school, but modern enough to do away with line numbers, have subroutines and functions properly defined, inline assembly and, more importantly, compile down to what is so far blisteringly quick machine language.

My goal – to release an adventure game as a companion for a book I am writing – seems that much closer now.

These posts will not detail that game as such, but more of a template or a framework – I am focussing from the start on reusable code and the creation of, if not quite a fully-fledged creation system or engine, a way to easily create new stories using the same framework.

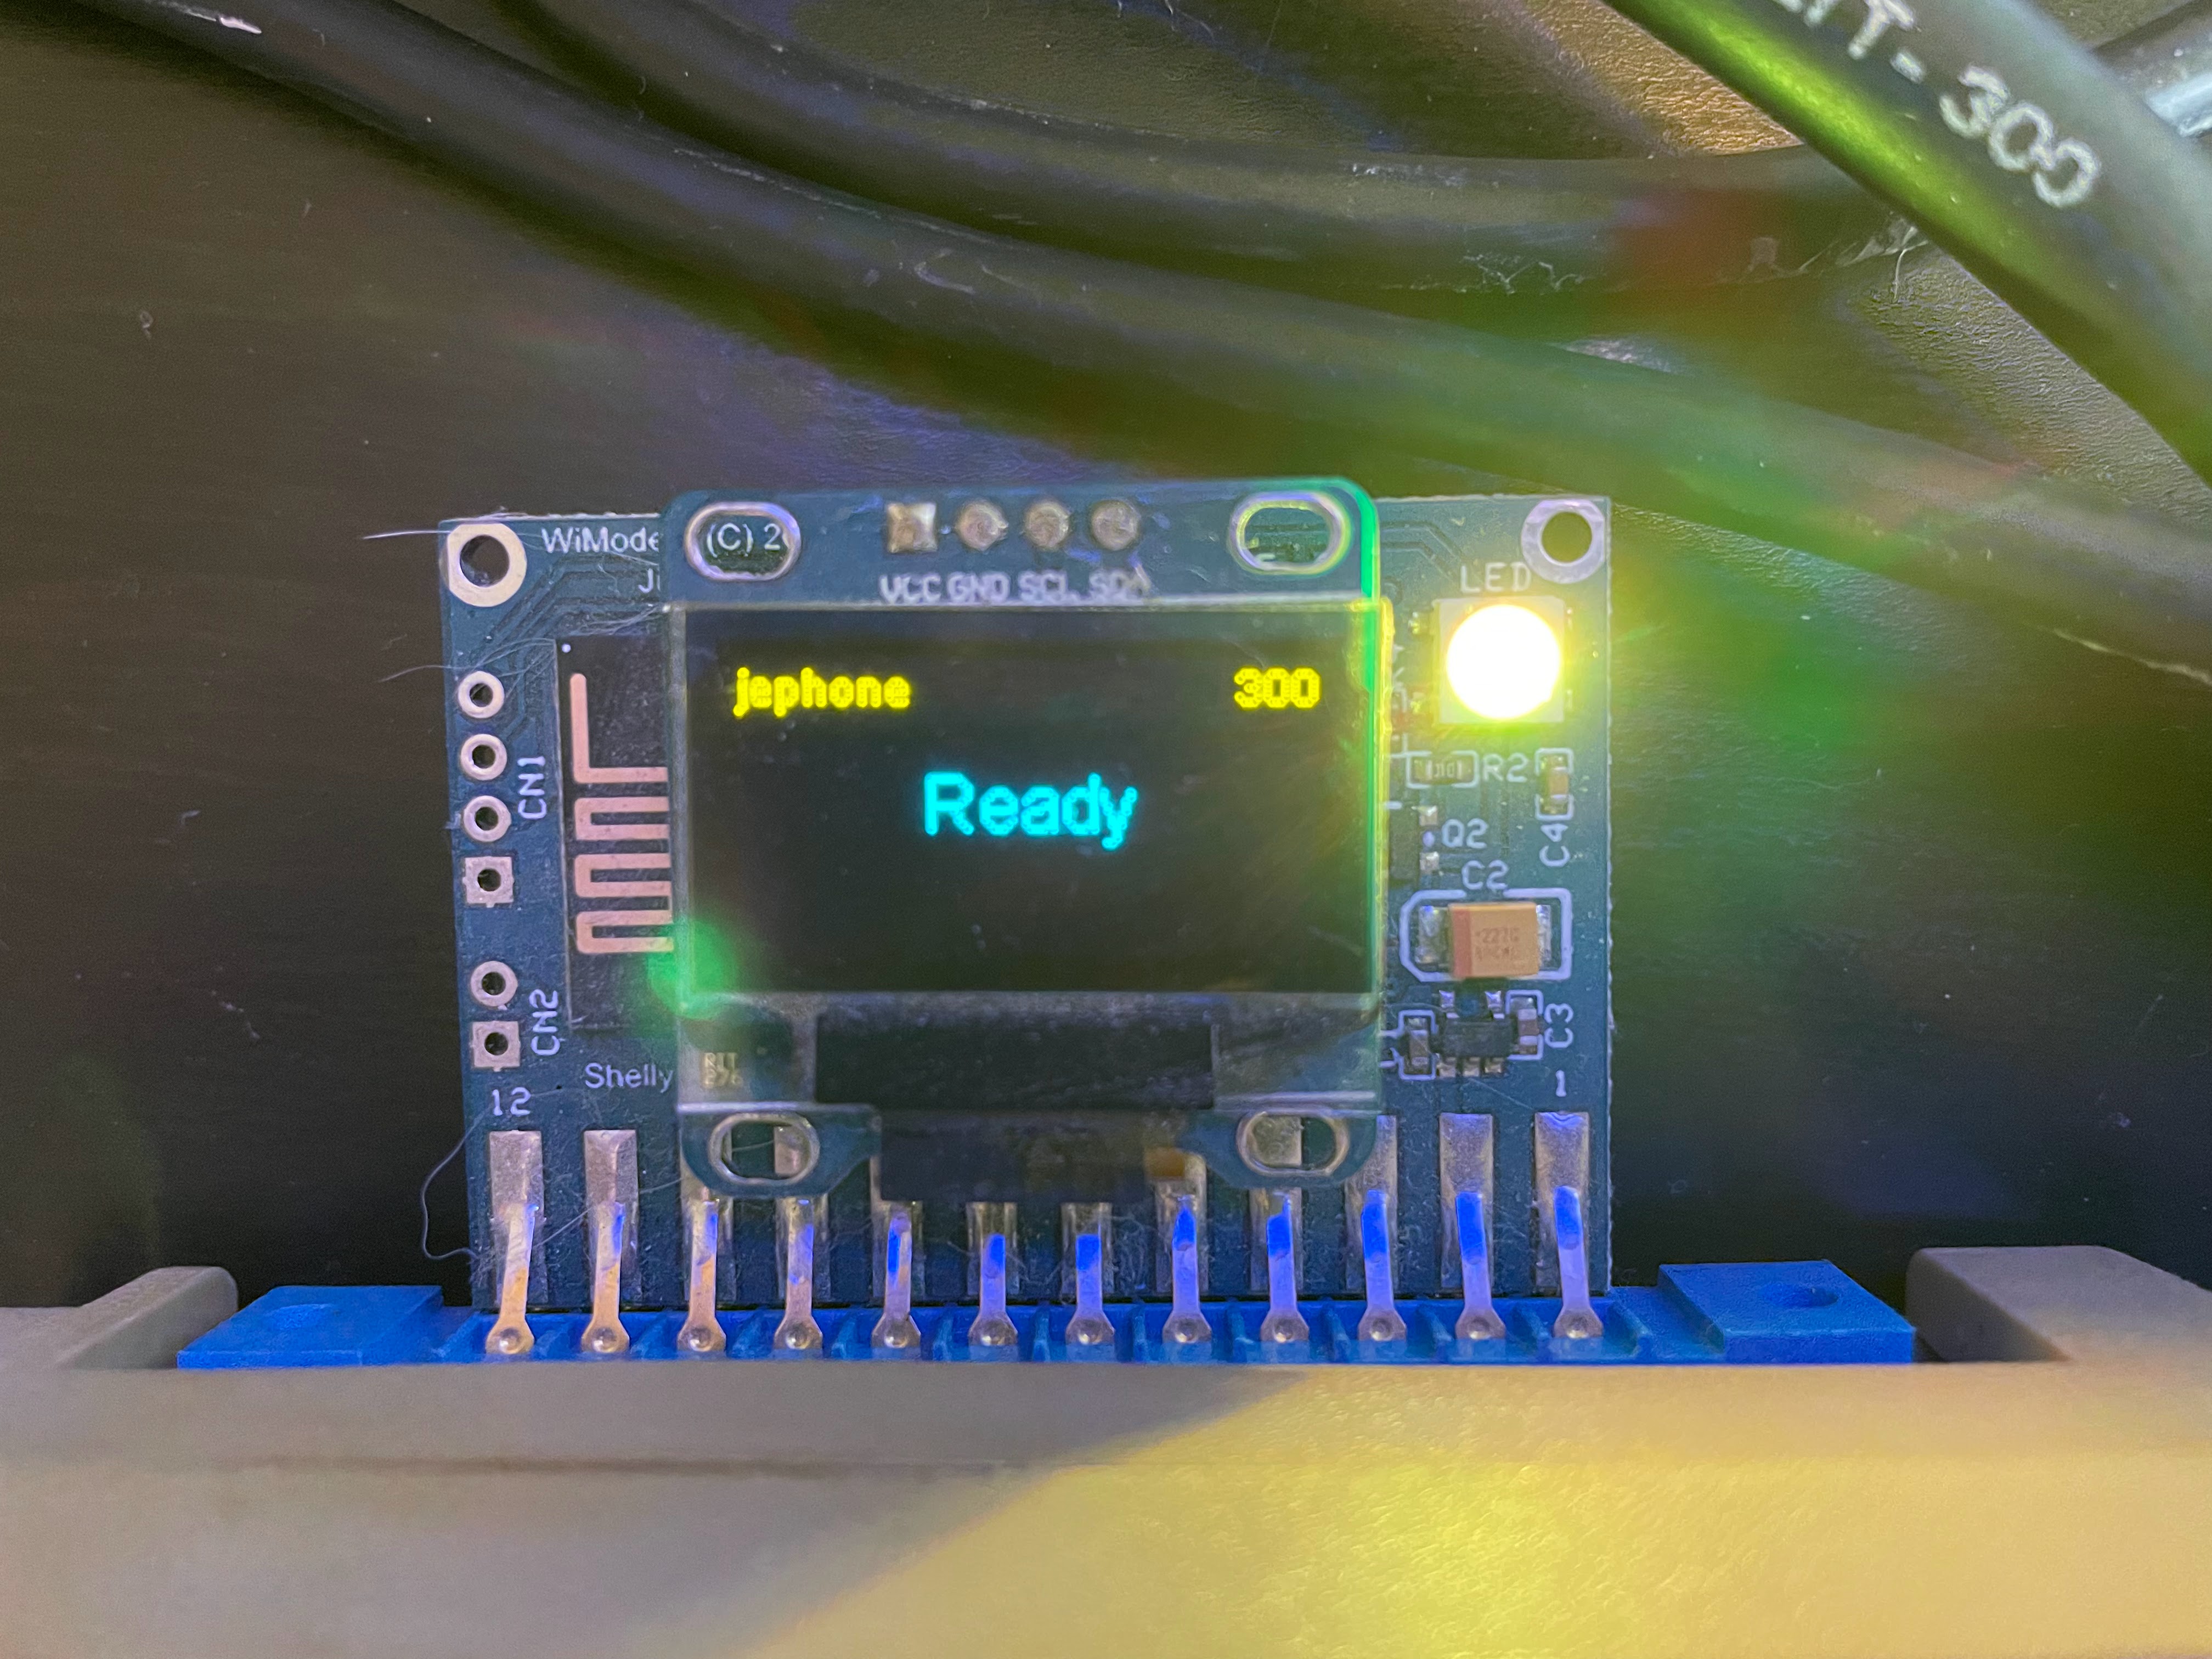
Follow me on my preferred social media, mastodon @jonnypencils@mastodon.social and look out for the #xcbasicadventures tag for updates.

The first post will be about something I found I very quickly needed and deals with strings, within strings, within strings…..

BBS (Part 2)

Following on from the post a few days back regarding WiFi Modems and BBS access from original hardware in the modern era, I just wanted to detail how and where I connect and add some links to resources etc. that you might find useful.

So, skipping the WiFi set up as that was covered in the last post, you can see that on boot of the Commodore 64 the settings are remembered and stored on board, ready to connect almost immediately.

Locked & Loaded

So, let’s load up CCGMS Ultimate by Craig Smith, my terminal of choice, and choose a BBS to connect to.

First of all the Baud Rate on the WiFi modem defaults to 300 so we want to change our terminal to match. On the C64 and CCGMS we do this by hitting F7 and checking the [B]AUD rate is correct. In this case, both modem and terminal default to 300 so we’re good to go.

F7 gives us the settings menu

So I’m going to go ahead and connect to the excellent Particles BBS over at particlesbbs.dyndns.org:6400 – the command we need to issue in the terminal here is atd<hostname:port> – the modem changes display to ‘Dialling’ and…….no answer!

This is fairly typical, a lot of the time the boards are down for maintenance or busy or simply offline, so the ‘No Answer’ reply in the terminal is a frequent sight.

In fact the first few I am trying are coming back ‘No Answer’ – I guess this would have been the case back in the 80s too. Could be my phone hotspot playing up, but I eventually get through to the Boar’s Head Tavern and set up an account there as I’m a first-time visitor. It’s a pretty good one at first sight, so I’ll definitely be going back to it.

The Boar’s Head

I get my BBS sites from the Commodore BBS Outpost which is a fairly up to date list of boards with addesses and current status. There is a remarkable number listed actually, and it seems to grow each time I visit it, which means the scene is well and truly alive! Have fun!

Some other links you might find useful:

Everything C64 Forumhttps://everythingc64.boards.net/board/32/bbs?page=1
The Oasis BBShttps://theoasisbbs.com/how-to-connect-to-a-bbs/
BBS Programshttp://www.zimmers.net/bbs/
Telnet BBS Guidehttps://www.telnetbbsguide.com/software/color-64/
Hackaday Article on BBShttps://hackaday.com/2008/08/21/bbs-on-a-commodore-64/
Particleshttp://www.particles.org/particlesbbs/

My next job is to set up a 2.4 GHz access point (update Dec 2022 – this is now done and works well!) for all of this as the hotspot via the iPhone is too clunky. I guess a lot of old and retro hardware may only be compatible with 2.4 so this classes as a valid post for the blog! I’ll keep you informed of progress…

Bulletin Board Systems in 2022

I’m lucky enough to be in that sweet spot generation of not having grown up with the internet and all it can offer, yet experiencing first hand its invention and first mass consumer take up in the form of the BBS. Not young enough to have been exposed to smart phones and devices as soon as you can read, and to take them for granted, yet not old enough to have been true pioneers, so retaining the childlike wonder.

Like the 8-bit computer revolution itself, it was so exciting. As kids we’d barely got used to the idea of owning our very own computer and all that entailed, before seeing films like WarGames and coming across adverts for CompuServe and modems and such like. It was a tantalising concept, and one out of reach for many, but if you were lucky enough to be able to afford a modem to hook up to your Commodore 64, what a world awaited.

So, of course, a few things have changed over the years. We all love resurrecting our old hardware and even creating new games, new software and plenty of new innovative add-ons for the old 8-bit computers. Convergence between old and new tech is addictive, and the internet and Bulletin Board Systems have not been neglected.

So, what are our options in 2022? Well firstly we need to get online. Not so easily done in the old sense of the word as yes, you can find modems still available, some still perfectly useable, but dialling into hosted systems over traditional telephone lines still accepting calls is now very rare indeed (although not totally unheard of). 

The next logical step in the modern world is to use the internet, right? Well exactly – and with ethernet interfaces in devices such as the incredible 1541 Ultimate II or the Ultimate64, we can do just that. But there are also other, more convenient options. My hardware of choice is the WiFiModem from CBMSTUFF. A user port add-on that literally, as the name suggests, give you access to the world from your Commodore 64 across your existing WiFi.

The wifimodem from CBMSTUFF

The wifimodem is simplicity itself – it adds to existing terminal commands (make sure you’re in an ansii terminal, not colour/petscii) which gives you easy access to configure the SSID and password etc. For example, AT*N lists all available networks. You simply pass the network name and password with another AT command (AT*SSID) and you’re connected. It even uses WPS with AT*WPS. The default BAUD rate is 300 so make sure your terminal program, in my case an updated version of CCGMS, is set to the same.

Oh and in case other people are in the same boat as me, I have to go via my iPhone’s hotspot as my router has been set to 5GHz only (for reasons) and this wifimodem is not compatible, but that’s a very minor inconvenience. (Update Dec 2022 – I have since added a cheap access point with a separate SSID and works like a charm)

So, now we’re online, the next step is to actually connect to something. My next post will be listing a few of the BBS’s I have been using for the last year or so and which ones I think are worthy of your attention (spoiler alert: all of them).

A First Repair

Can one really call oneself a retro computer hobbyist without getting your hands dirty? Without bearing the scars of hot solder on your wrists or holding onto solder flex for too long and taking the skin off your fingertips? No! No, you can’t.

I am, therefore, happy to report I am now a retro computer hobbyist. An official one. A do-it-yourselfer. It’s literally taken me years to pluck up the courage to have a go myself and (as you are all no doubt thinking) what was all the fuss about?

So, as you know, the old C64 was in storage for a little while as I flirted with emulators. The reward for my infidelity was an ‘Out of Memory’ error when I came to reinstall and reboot the old girl.

A quick google later and I’d identified the likely culprit. My search led me, as it so often does, to Lemon 64 and this really useful post. It told me all I needed to know, an ‘Out of Memory in 0’ error with a flashing character on screen. Seems you can identify which chip by that character.

Mine was an exclamation mark so, with an 8-chip board, the chip I needed to replace was U21. The post went on to say the chip I needed to get hold of was the 4164 and I found them listed for a very reasonable £1.50 over at Retroleum (a great site, by the way). I got two just in case I ruined one. See, no confidence.

Anyway, chip duly arrived, board taken out of the breadbin (even I can do that without too much trouble) and some hefty research on how best to desolder and today saw the first steps to true retrocomputerer.

What worked best for me was solder braid/wire. The pump was too big for the relatively small 4164 chips and there were capacitors getting in the way, so I simply heated up the base of the pins on both side of the board via the braid and it just sucked the solder right up. Top tip – don’t hold onto the braid too close to the heat source. It hurts.

That made it sound easier than it was. It took a few attempts and fiddling with the chip to get it out, but once off the board I could repeat the process with the now vacant holes and clean them up properly. The chip, as you can see, came out as clean as a whistle!

No matter, it was a duff one anyway. So, holes (are they called holes?) tidied up, time to insert the new chip. I was a bit worried I should be replacing all 8 chips, and I probably should have been, but for now I could only focus on the one I knew was bad. In it went and out came the solder iron. I tipped the iron tipbecause google told me to. No idea if that helped or not but it is supposed to be good for the life of the tip.

Not too bad for a first attempt I think.

My method was to put a tiny bit of solder on the iron and touch each pin base on both sides of the board. The solder just sort of knew where to go. It slooped into place and I was starting to think this soldering lark is easy. Maybe that’s everybody’s method, I don’t know, but it if is then I just happened to discover it first go. 

So there it is, not the best soldering in the world, but not the worst. Sorry its a bit out of focus!

I checked as well as I could that the solder looked ok and wasn’t touching other solder or traces, and looked to be making good contact on both sides. So nothing else but to put the board back in and get the Dead Check cart out.

Well, first of all the thing booted straight up and into basic. I am of a certain amount of advanced years and I can tell you that made me feel like a kid again. I was thrilled. I switched off and put the cart in and ran a few cycles of the test. All showed ok and the RAM tests were all fine!

So a success. And, although I’ve been a little flippant in this post, I really am over the moon with my own repair. It has given me the confidence to maybe try to recap the board next, and to try all sorts of other projects, and makes me feel that these wonderful old bits of pioneering hardware will be around for a lot more years to come.